

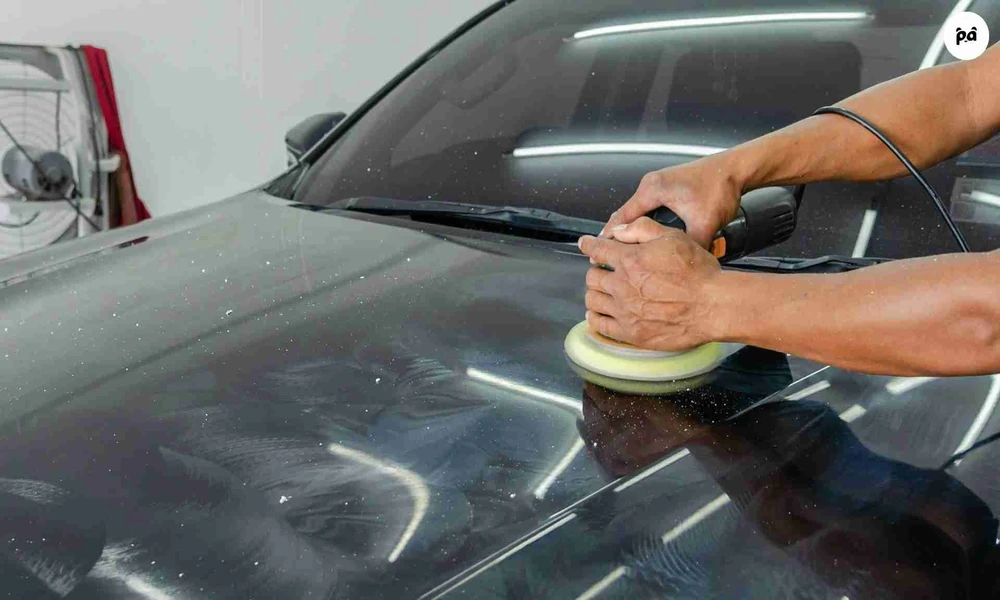
Stand behind almost any dark-colored car in direct sunlight and you’ll probably see them: faint, circular scratches that catch the light in a spiderweb pattern across the hood, doors, and trunk. Swirl marks are one of the most common paint complaints among car owners, and ironically, they’re often caused by the very act of trying to keep a car clean. Understanding what they actually are – and how to correct them without making things worse – is the difference between restoring a finish and quietly grinding away the paint that’s supposed to protect it for years to come.
This guide walks through what swirl marks are, why they show up, and how to remove them using methods that respect the limits of your car’s clear coat rather than fighting against them.
What Swirl Marks Actually Are
Swirl marks are a form of paint marring – thousands of shallow scratches sitting in the clear coat, the transparent top layer that gives paint its gloss and protects the color coat underneath. Each individual scratch is often too fine to notice on its own. It’s only when light hits the surface at certain angles, especially direct sun or garage lighting, that the collective pattern becomes visible as a swirling haze.
They’re different from a single deep scratch, which usually comes from one identifiable event, like a shopping cart or a branch. Swirl marks build up gradually, which is part of why so many owners don’t notice them until the damage is already fairly widespread.
Why Swirl Marks Happen in the First Place
Most swirl marks trace back to how a car is washed and dried, not to road debris or weather. A few of the most common culprits include:
- Automated car washes with brushes. The same brushes and cloth strips that touch your car have already touched dozens of others, picking up grit along the way and dragging it across your paint.
- Dry wiping. Using a dry towel to knock dust off a car, rather than washing it first, drags loose particles across the surface like sandpaper.
- Improper hand washing. A single bucket of soapy water gets dirtier with every pass, so the same grime you just lifted off the car gets redeposited by your wash mitt on the next panel.
- Low-quality towels and applicators. Cheap microfiber, old sponges, and rough chamois leathers are more abrasive than most people assume.
Consumer Reports’ guidance on washing a car echoes this: rinsing every surface thoroughly before you start, and working one section at a time so soap doesn’t dry on the paint, does more to prevent new scratches than almost any product you could buy. It’s a simple habit, but it’s one of the biggest factors separating a wash that protects paint from one that slowly wears it down.
Why You Can’t Just “Buff It Out” Carelessly
Here’s the part that trips up a lot of DIYers: removing swirl marks isn’t really about erasing the scratches themselves. It’s about leveling the surrounding clear coat down to the depth of the deepest mark, so the surface becomes uniformly smooth again and stops scattering light unevenly.
That means every correction step removes a small amount of clear coat – and clear coat is finite. Most factory finishes carry only a few thousandths of an inch of clear coat to begin with, and once it’s gone, there’s no bringing it back without a repaint. This is exactly why professional detailers use paint thickness gauges before starting any correction work, rather than guessing. Skipping that step and going straight in with an aggressive compound is how well-meaning DIY attempts turn light swirling into burned-through paint or thin, patchy spots that show up months later.
Assess Before You Polish
Before reaching for any product, take the time to actually diagnose what you’re looking at. Grab an LED inspection light or even a bright flashlight and look at the paint at a low angle, ideally out of direct sun so you’re not fighting glare.
Ask yourself:
- Are the marks fine and shallow, or do they catch your fingernail when you run it lightly across the surface?
- Is this isolated to a few panels (often the hood, trunk, and doors, which get touched most) or is it across the whole car?
- Has this car been polished before? Repeated corrections over the years eat into the same limited clear coat supply.
A car with light, superficial marring might only need a gentle polish. Deeper, more established swirling may call for a two-step process – a cutting compound followed by a finishing polish – or, in cases where the clear coat is already thin, a decision to accept some imperfection rather than risk going through it entirely.
Start With the Wash, Not the Polish
It sounds counterintuitive, but the single most effective way to protect paint during a correction is to get the pre-polish wash right. Any grit left on the surface when you start machine or hand polishing gets ground into the paint under pressure, creating new scratches while you’re trying to remove old ones.
The two-bucket method remains the standard here for good reason: one bucket holds soapy water, the other holds clean rinse water, and you dunk your wash mitt in the rinse bucket before reloading it with soap. This keeps contaminants from being reintroduced to the surface with every pass. Follow that with a clay bar or a fine clay mitt to lift any bonded contamination – tar, overspray, mineral deposits – that washing alone won’t remove. Skipping this step is one of the most common reasons a polish doesn’t fully remove marring on the first pass; the machine is fighting invisible grit instead of just leveling the clear coat.
Hand Polishing vs. Machine Polishing
Both approaches can work, but they suit different situations.
Hand application using a quality swirl-remover product and a foam or microfiber applicator pad can genuinely reduce light marring, especially on softer paints. It’s slower, more forgiving of small mistakes, and doesn’t require any equipment investment. The tradeoff is that it’s far less consistent and typically can’t fully correct moderate-to-heavy swirling.
Machine polishing, usually with a dual-action (DA) polisher rather than a rotary buffer, gives much more control and consistency. DA polishers oscillate rather than spin continuously in one direction, which makes them significantly less likely to generate heat buildup or burn through the clear coat compared to rotary tools in inexperienced hands. Even so, technique matters: keeping the pad flat against the surface, working in manageable sections, and always running a test spot on a less visible panel before tackling the whole car are non-negotiable habits, not optional extras.
A Safer Step-by-Step Approach
- Wash using the two-bucket method, then clay the surface to remove bonded contaminants.
- Inspect under strong, direct lighting to map out where marring is heaviest.
- Test spot on a small, inconspicuous area with your chosen polish and pad combination.
- Work in small sections, applying light to moderate pressure and letting the product and pad do the cutting rather than forcing it.
- Wipe down and inspect each section under your light before moving on, adjusting product or pad aggressiveness as needed.
- Follow with a finishing polish to remove any fine haze left by the correction step.
- Seal the paint with a wax, sealant, or coating once you’re satisfied, since freshly corrected paint has no protection until something is applied.
When It’s Worth Calling in a Professional
DIY correction has real limits. If a car has been through several rounds of polishing over the years, if the paint thickness is unknown, or if the swirling is heavy enough to require aggressive compounding, the margin for error narrows considerably. This is where a trained eye and a paint thickness gauge earn their keep – a professional can measure exactly how much clear coat is available and correct within that budget instead of guessing.
For anyone unsure whether their car’s finish can safely handle a full correction, it’s often worth having a shop that specializes in clear coat-safe paint correction take a look before committing to a DIY product. A short inspection can save a repaint down the line.
It’s also worth noting that detailing has developed real professional standards around this kind of work. The International Detailing Association maintains a certification program specifically to evaluate technicians on paint correction knowledge, among other skills – a reminder that this isn’t just a matter of buying the right bottle of polish, but of understanding how paint systems behave under an abrasive.
Keeping Swirl Marks From Coming Back
Correction only resets the clock; it doesn’t change the habits that caused the marring in the first place. A few adjustments make a lasting difference:
- Stick with the two-bucket wash method and rinse tools frequently.
- Use dedicated, soft microfiber wash mitts and drying towels, and retire any that have been dropped on the ground.
- Avoid brush-style automated car washes in favor of touchless washes or hand washing.
- Dry with a plush microfiber towel or a blower rather than dragging a towel across a dirty surface.
- Apply a wax, sealant, or ceramic coating, which adds a sacrificial layer that takes on minor abrasion instead of the clear coat itself.
Teams like Vision Mobile Detailing run into this same pattern constantly: paint that’s been maintained with careful technique tends to need only light, occasional maintenance polishing, while paint washed carelessly for years often needs a far more involved correction just to get back to a baseline finish. The habits between washes matter just as much as the correction itself.
The Bottom Line
Swirl marks look dramatic under the right light, but they’re rarely as serious as they appear – and they’re almost always fixable with patience, the right products, and a realistic understanding of how much clear coat you actually have to work with. The real risk isn’t the swirling itself; it’s rushing into aggressive correction without assessing the paint first. Wash properly, test before you commit, work in stages, and know when a job calls for more experience than a weekend project can offer.
